Learn The Process

Learn The Process

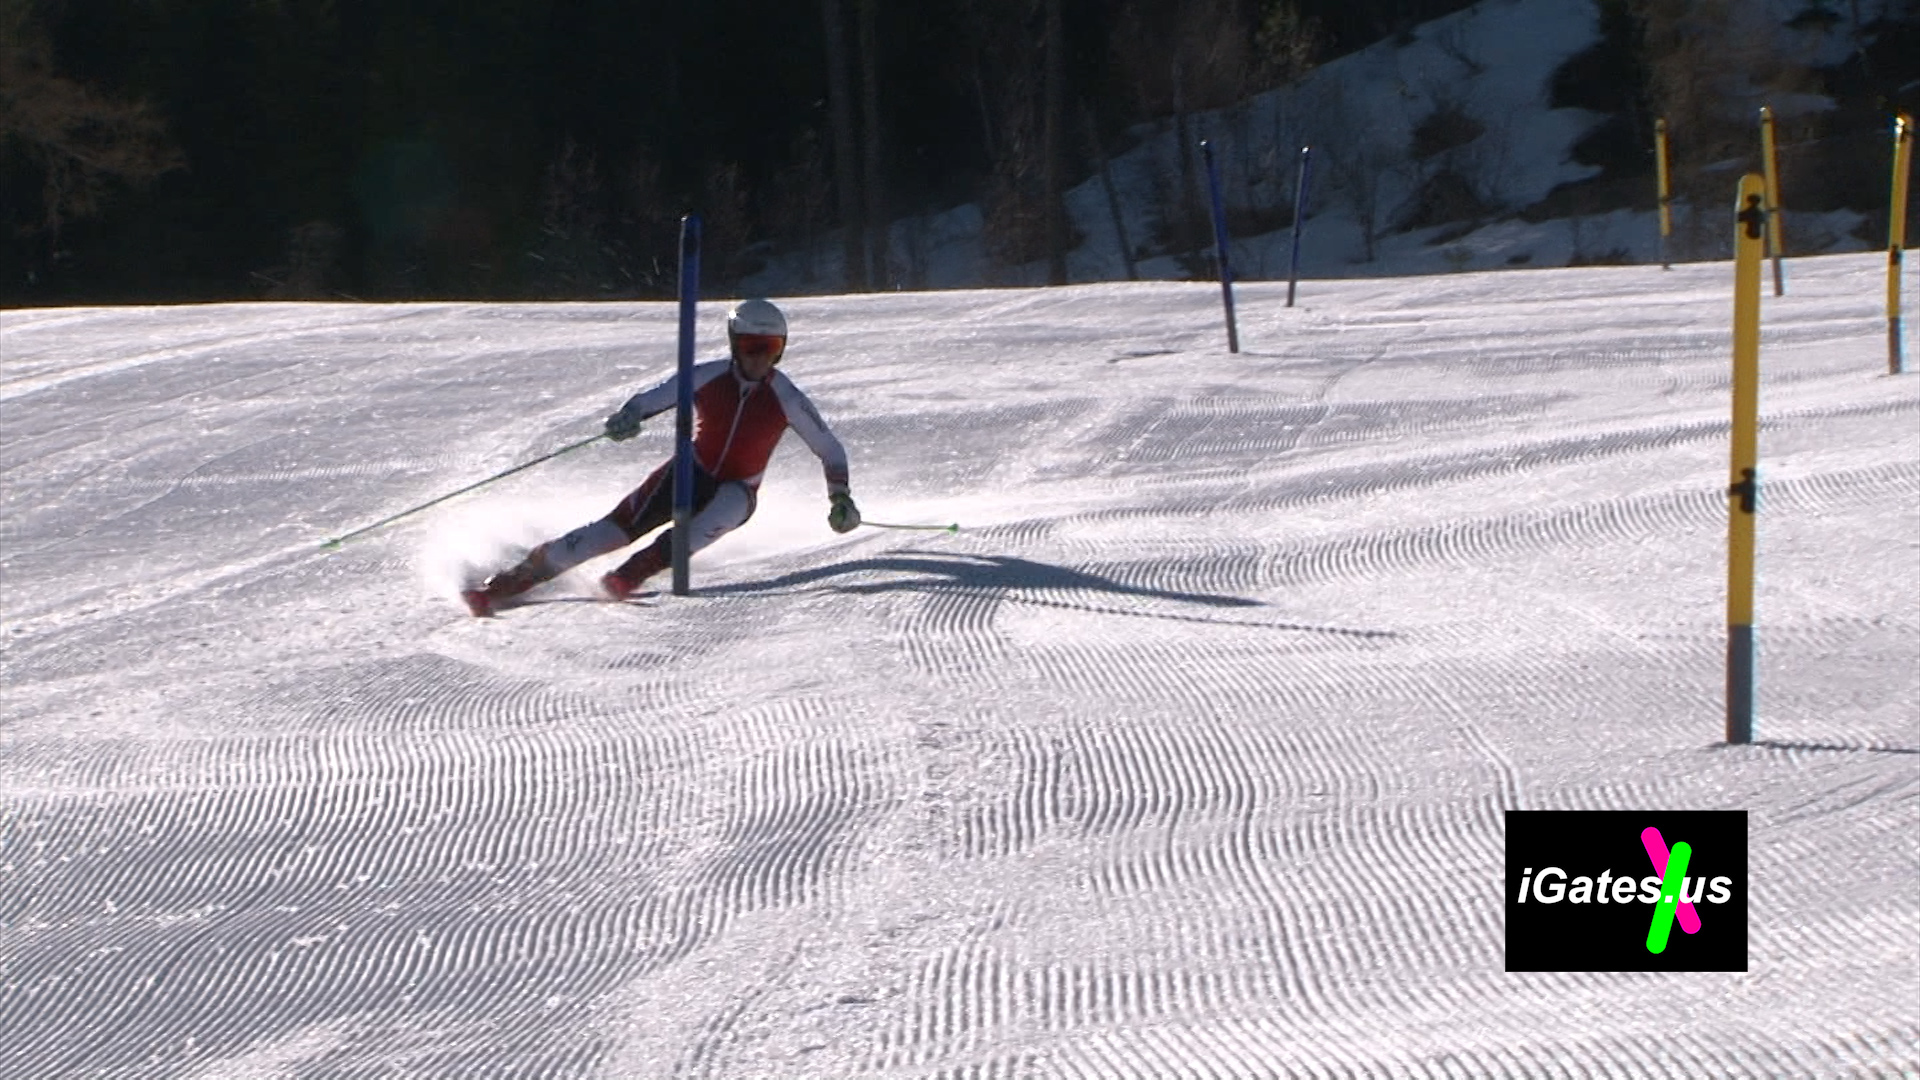
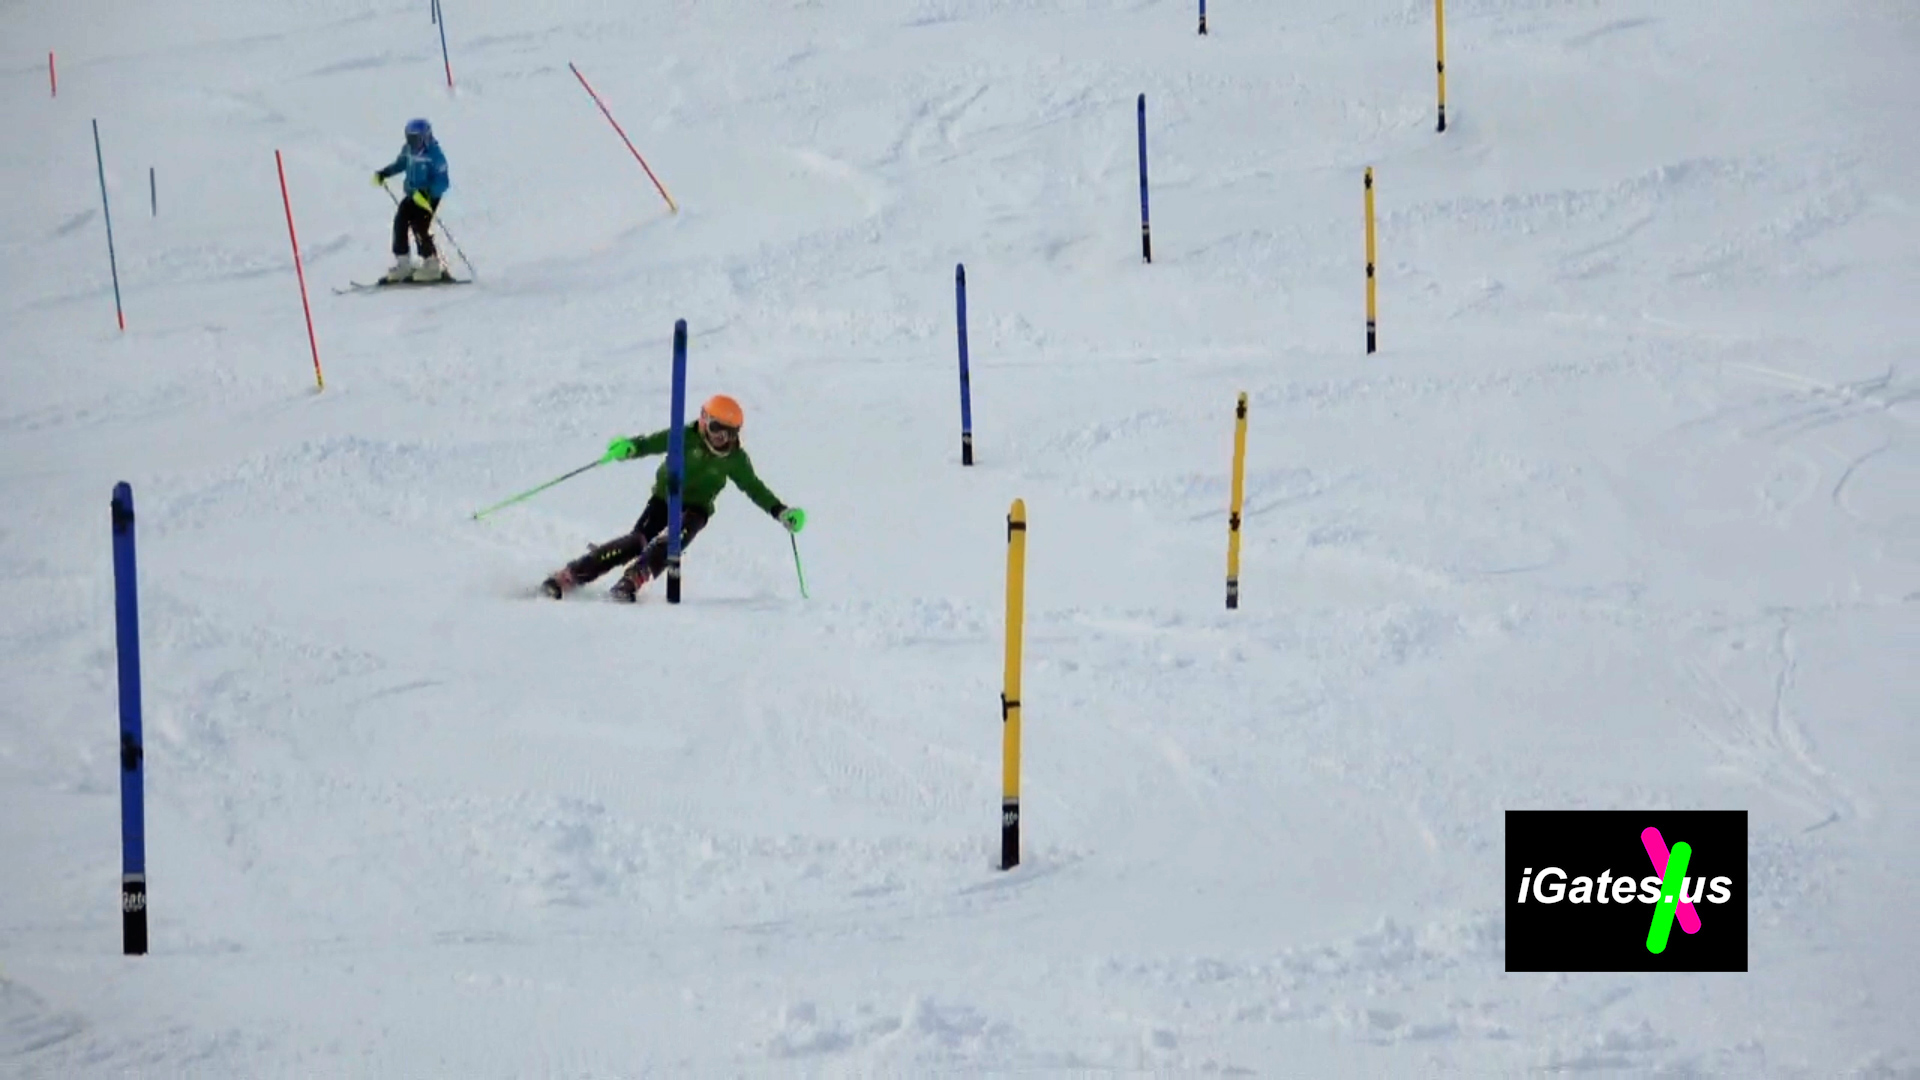
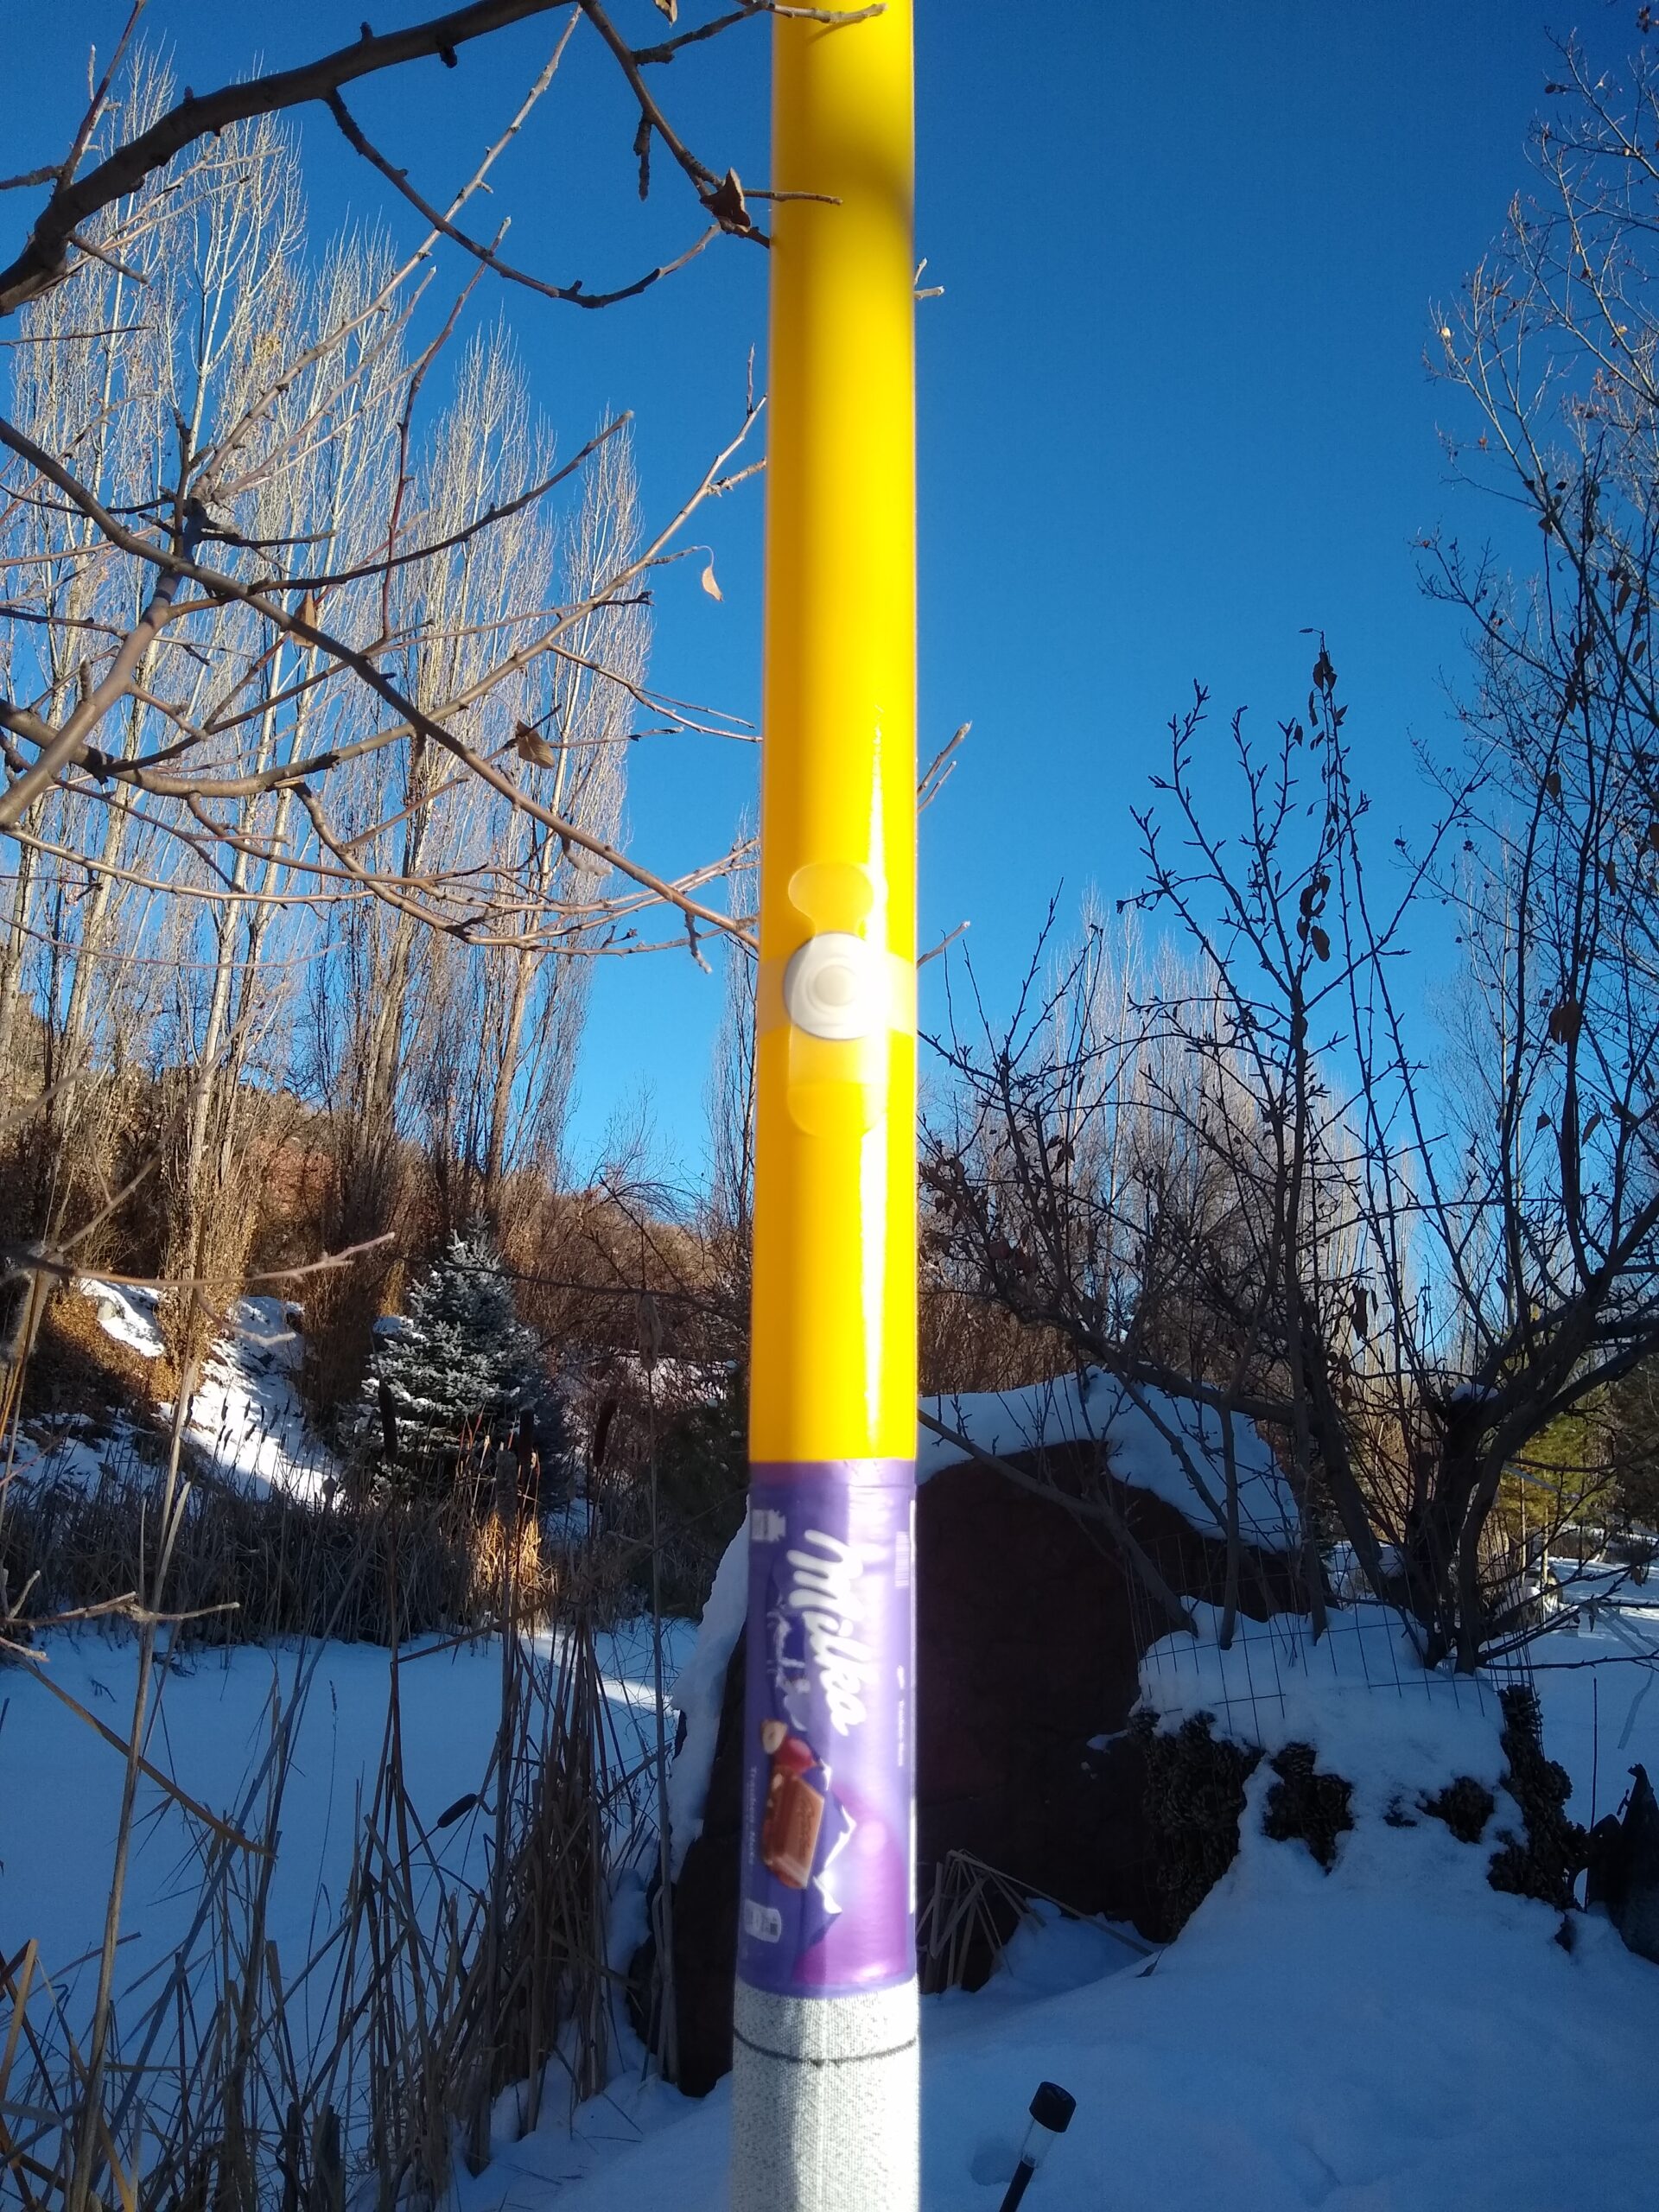
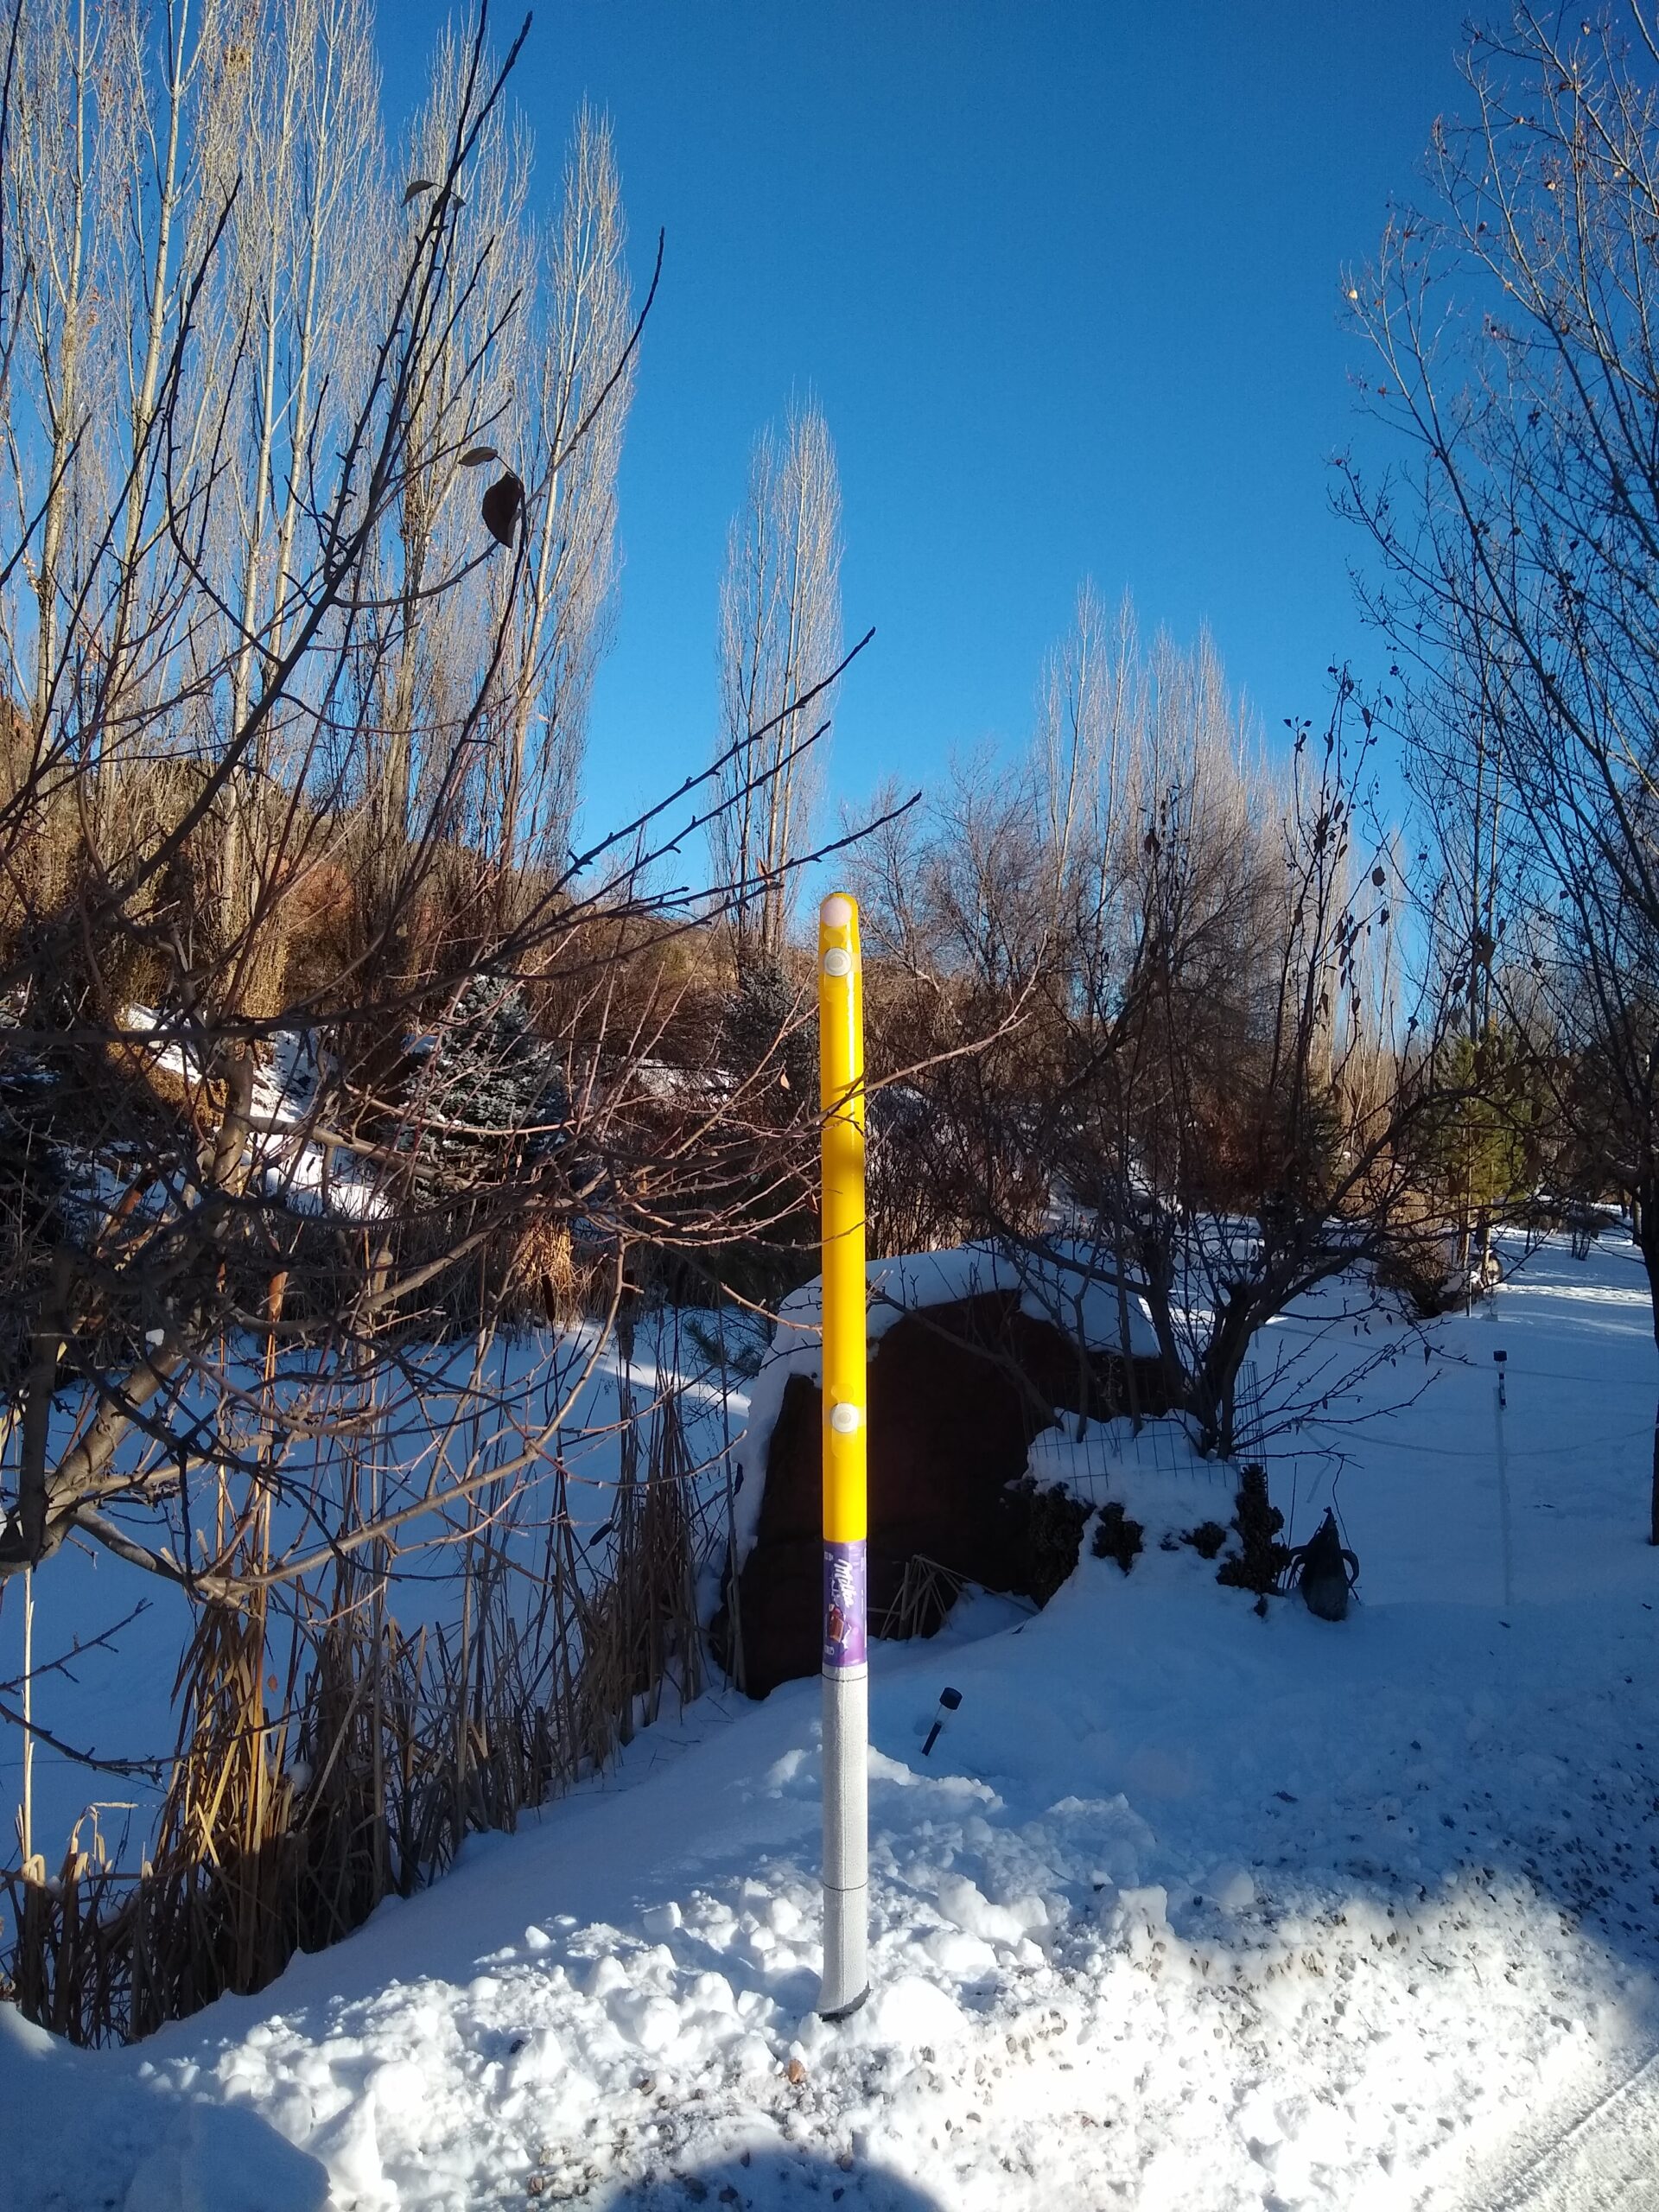
iGates® are an advanced gate system for  safe and professional racing. Our durable and premium quality product helps you discover your own style and enjoy the racing experience.

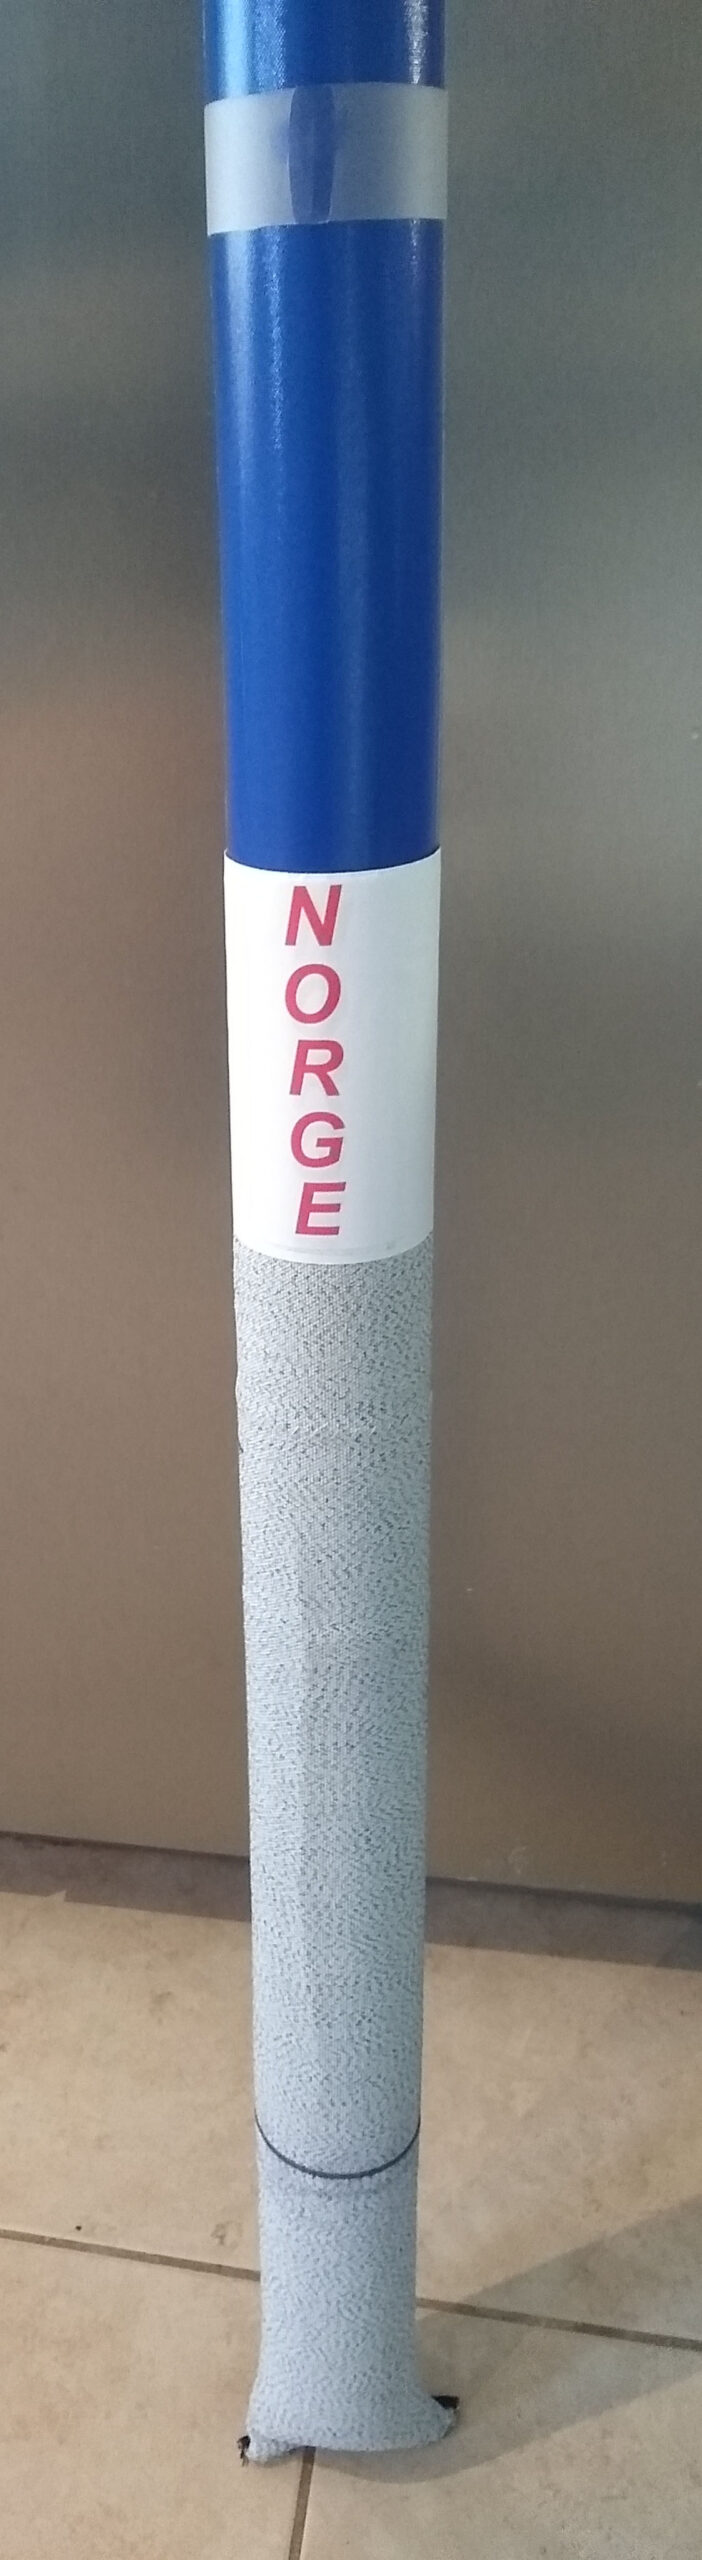
iGates® are easy to install and disassemble. Follow the steps below and start skiing.
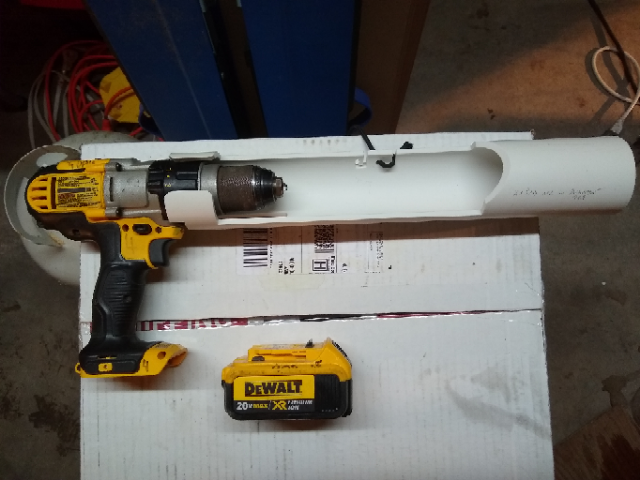
iGates

Drill

Hold iGates® drill using both hands (clutch+-), drill all the way down to the chuck. Pull up swiftly, make a clean hole. Now, insert iGates®, uninflated, to a maximum depth of 10", and minimum depth 8".

Insert

Fold iGates® on bottom lengthwise and insert to the depth of the snow line indicator. Face all valves and decals downhill when installing iGates®. Stand in front position from iGates®, downhill.

Inflate

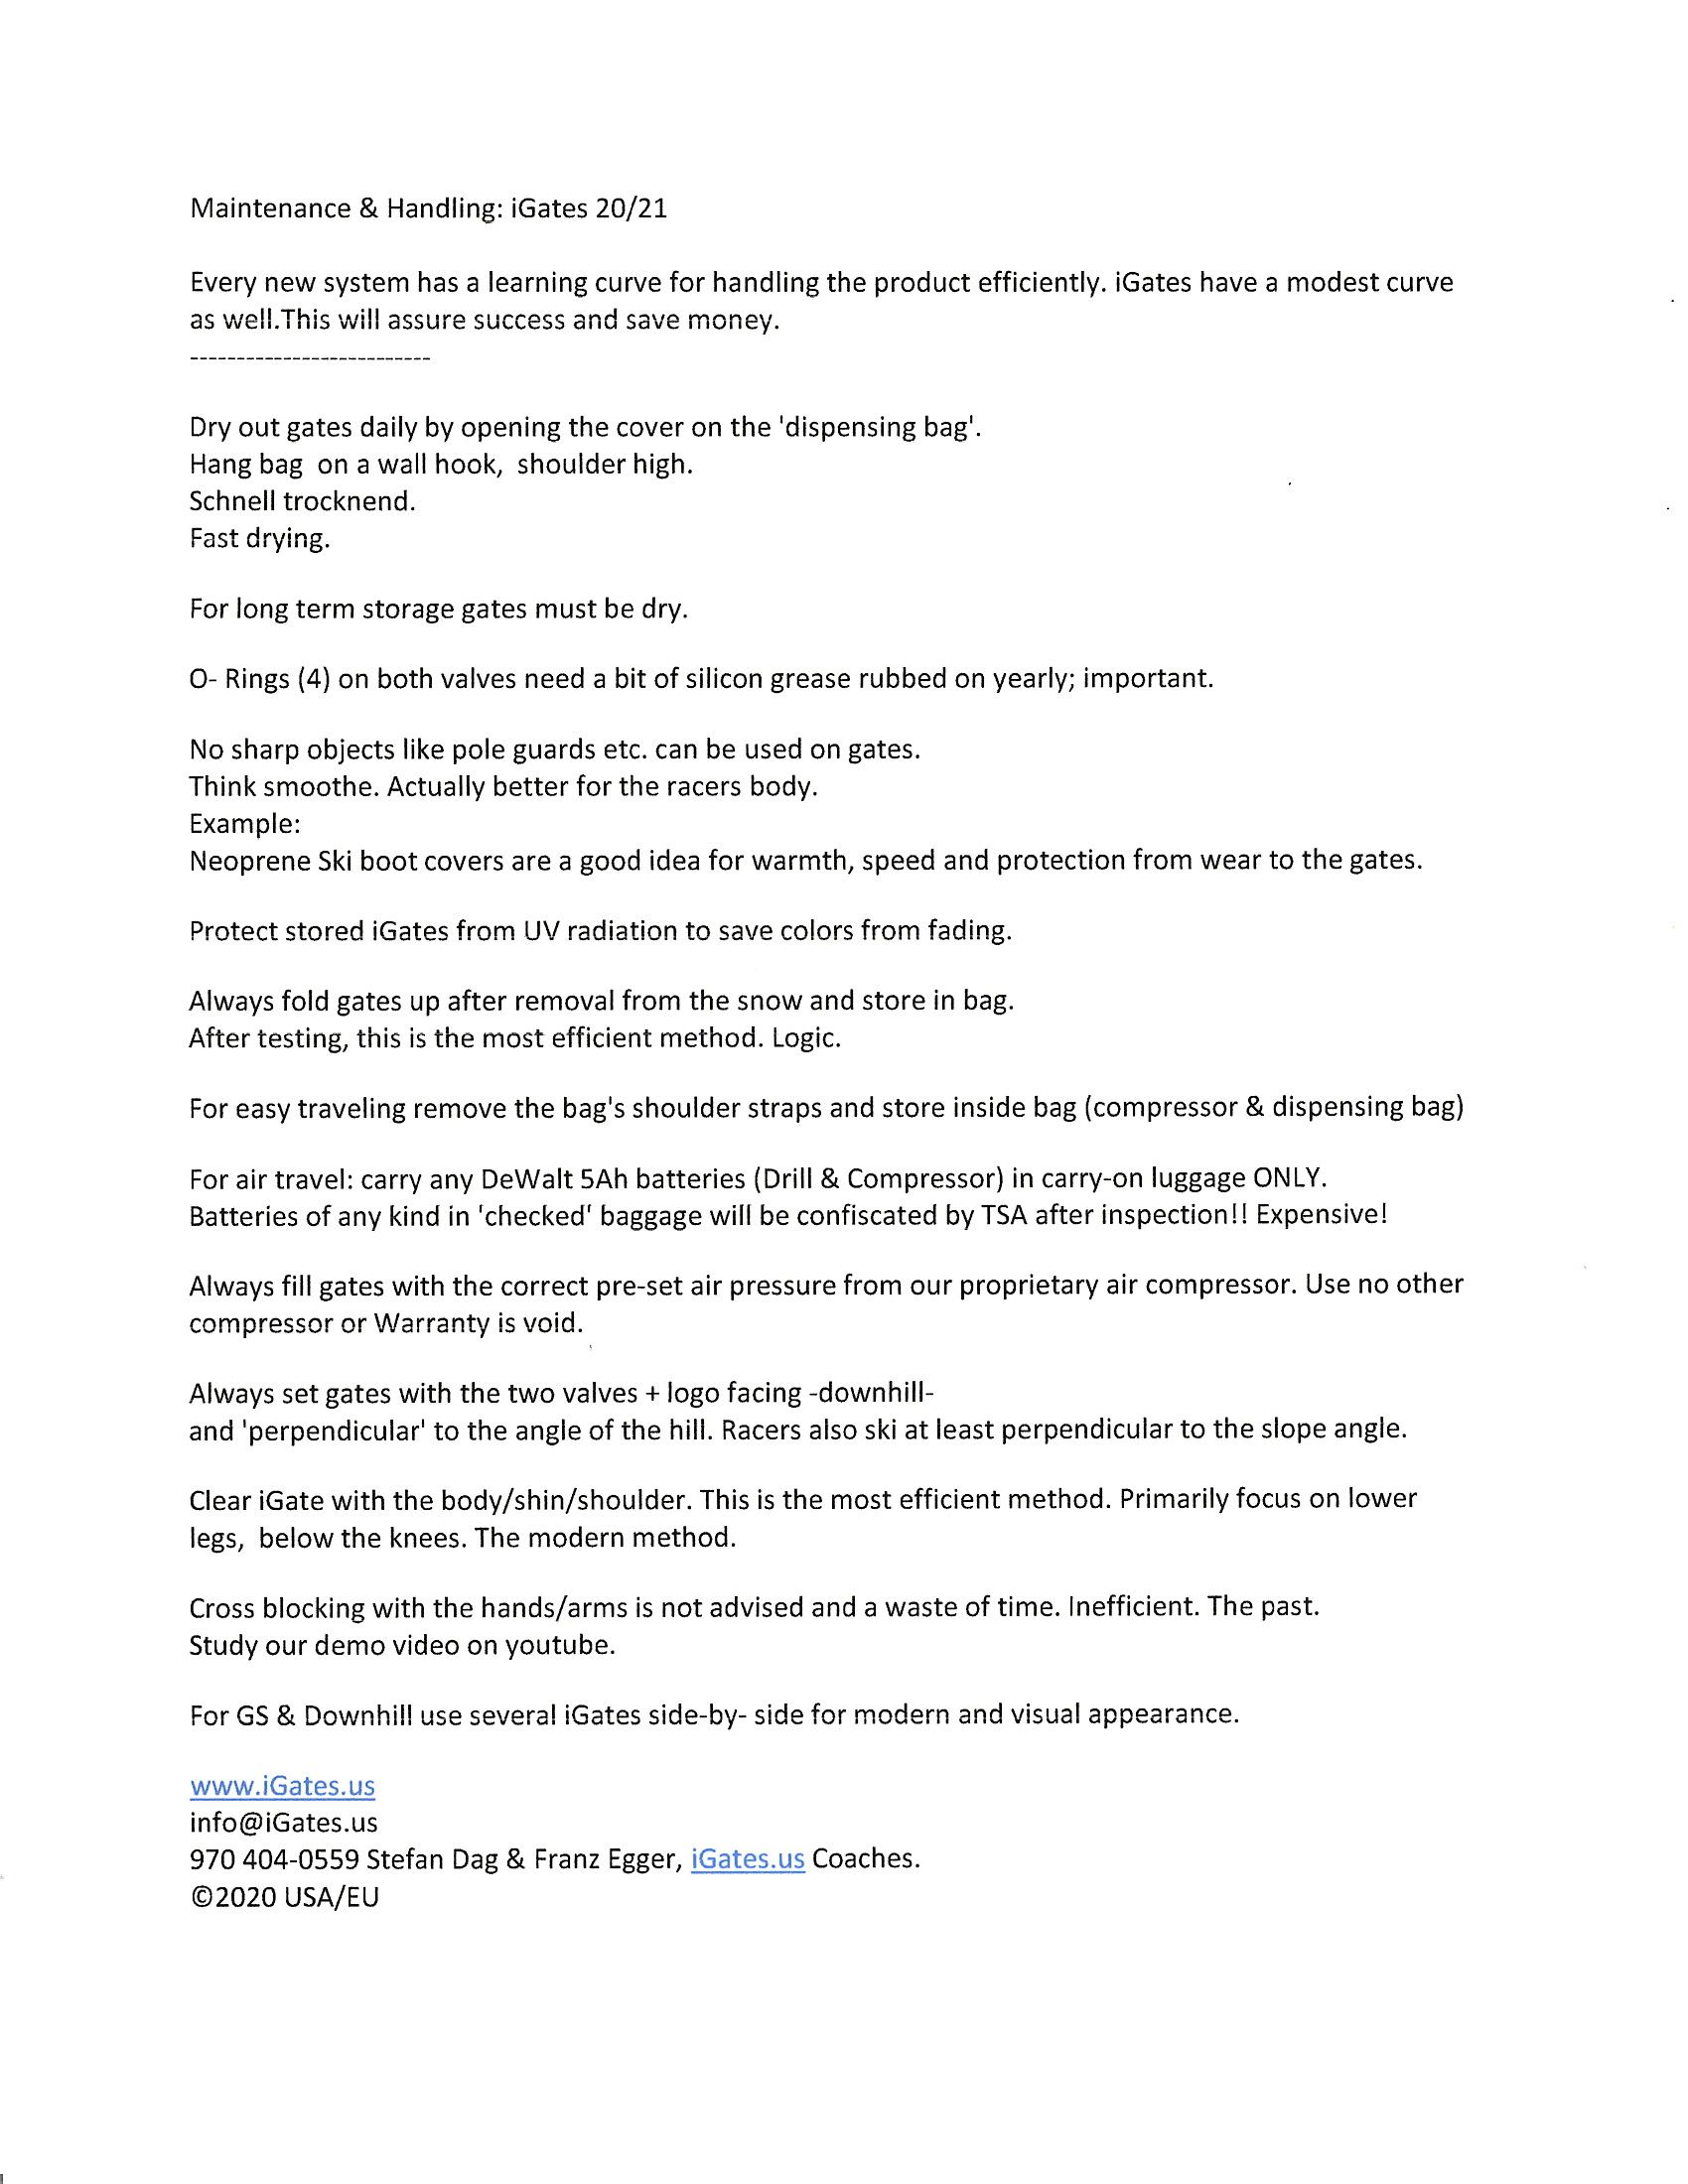
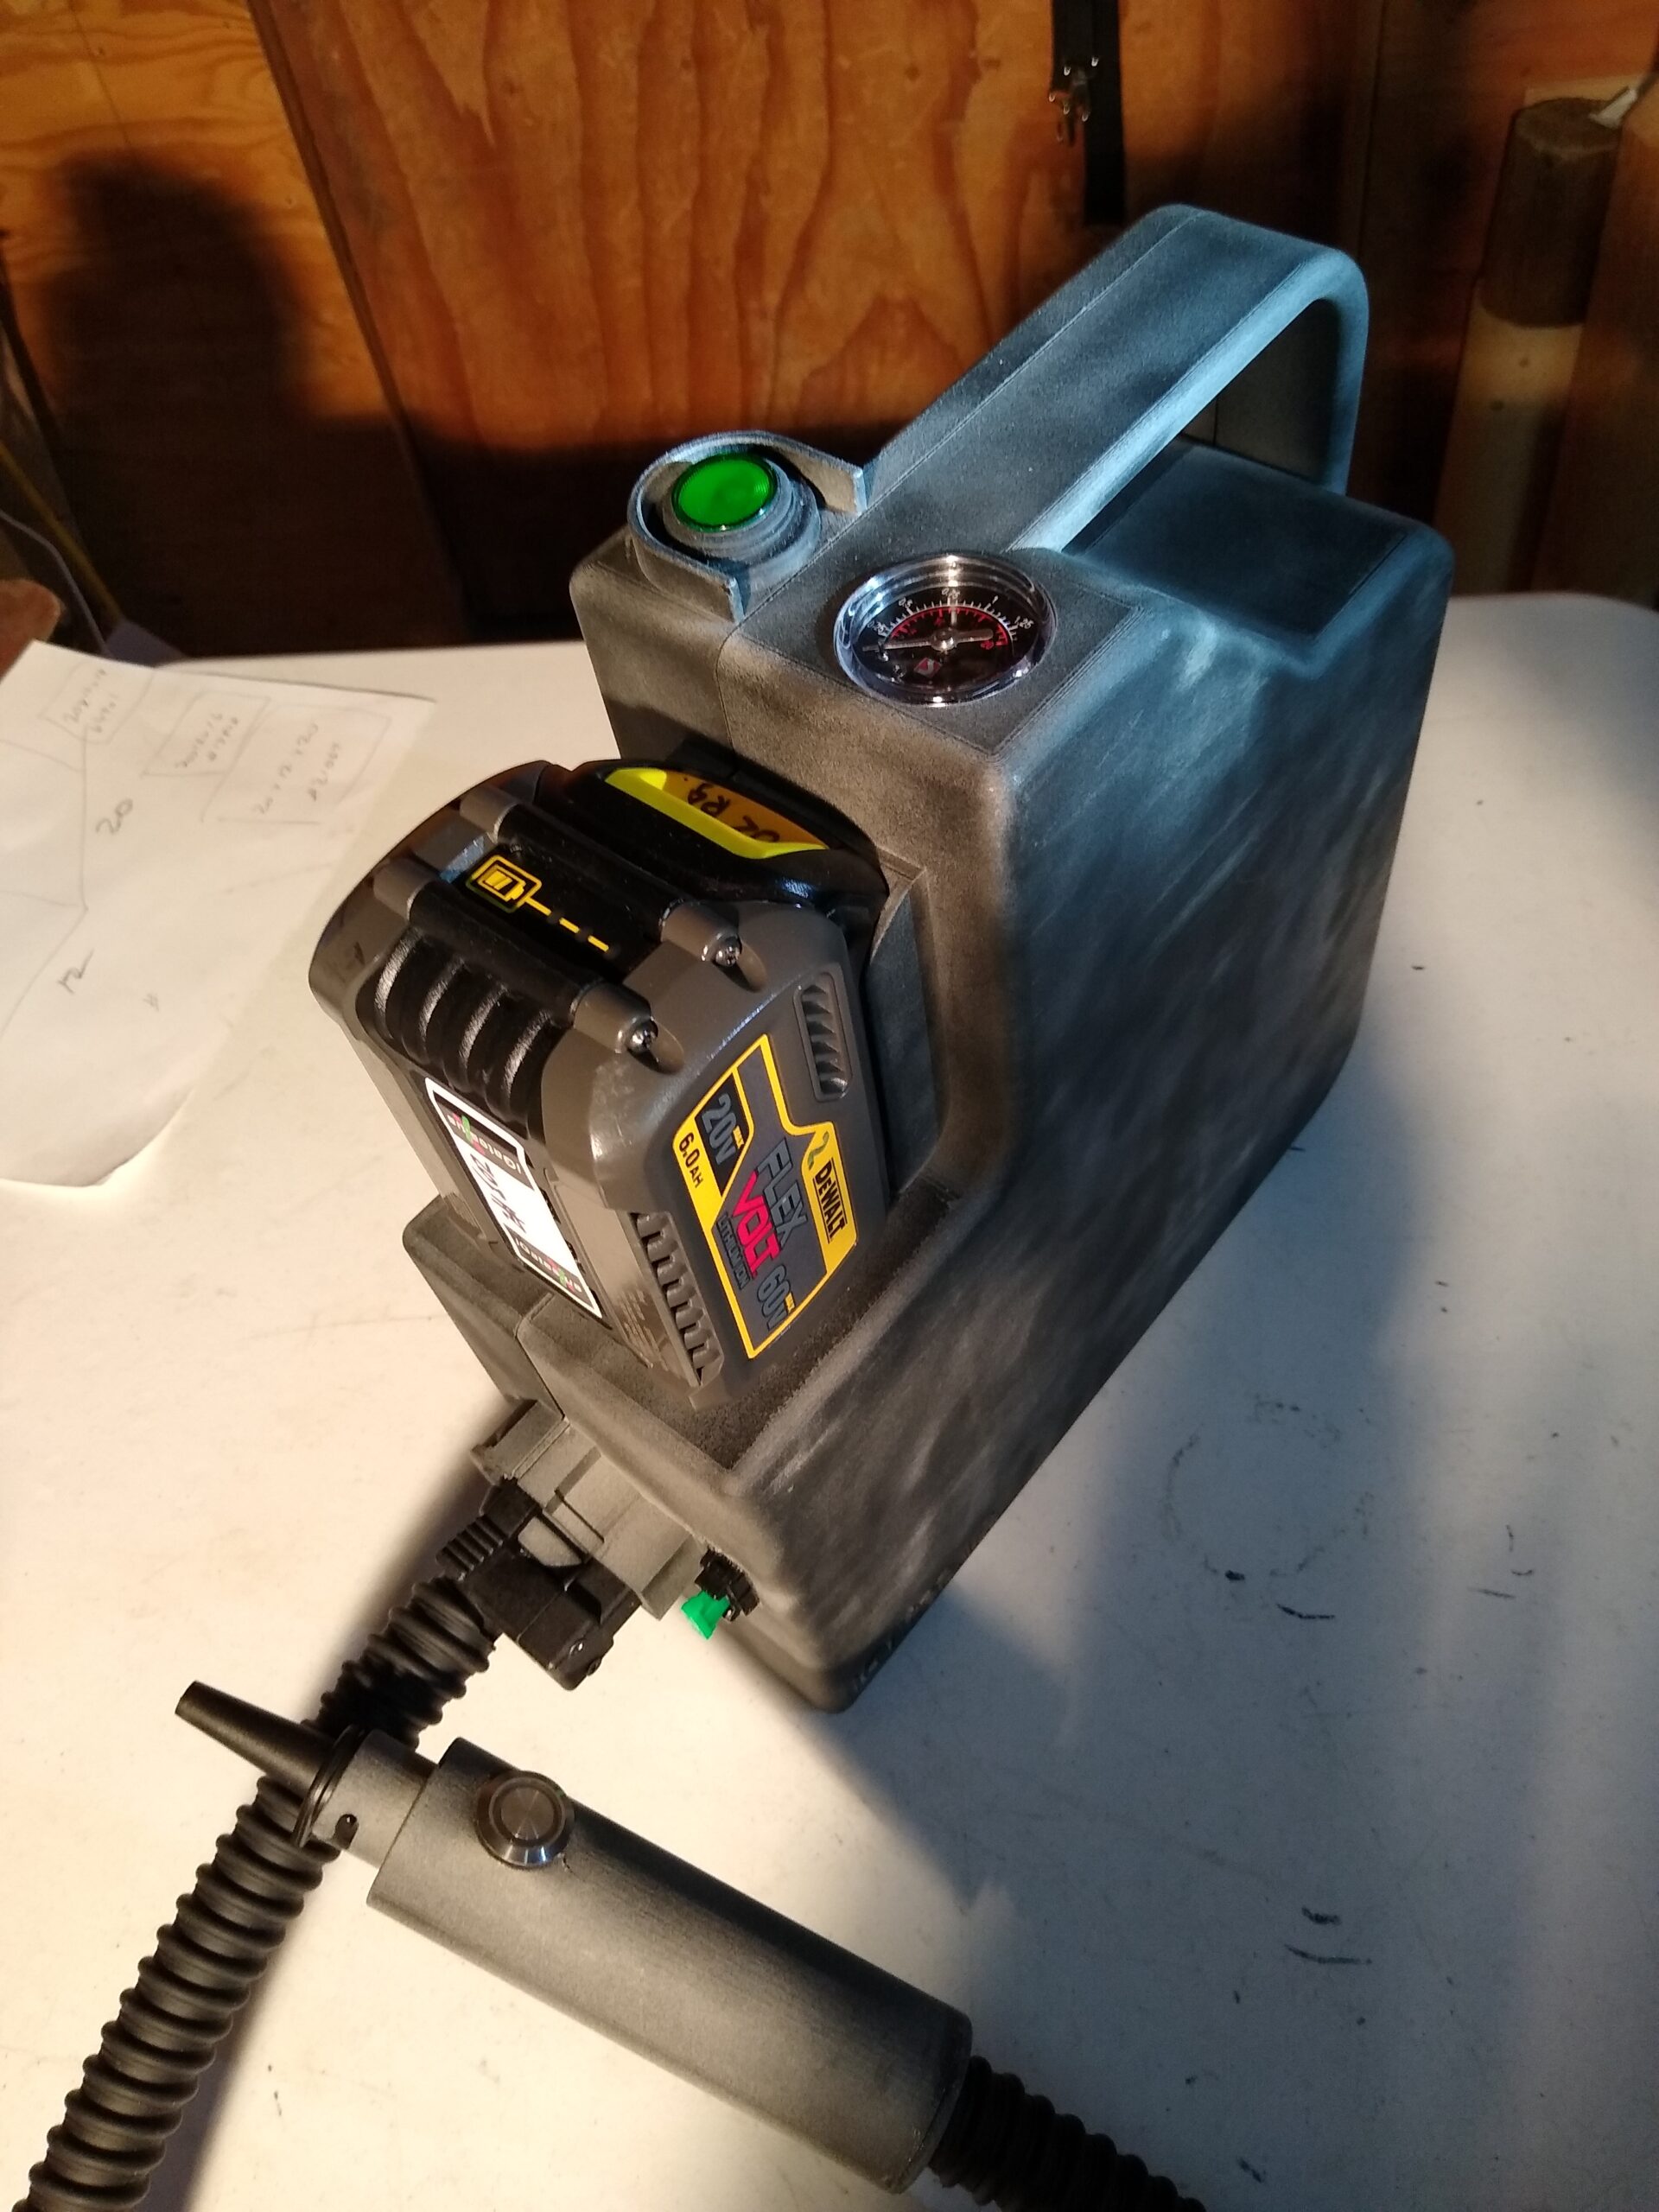
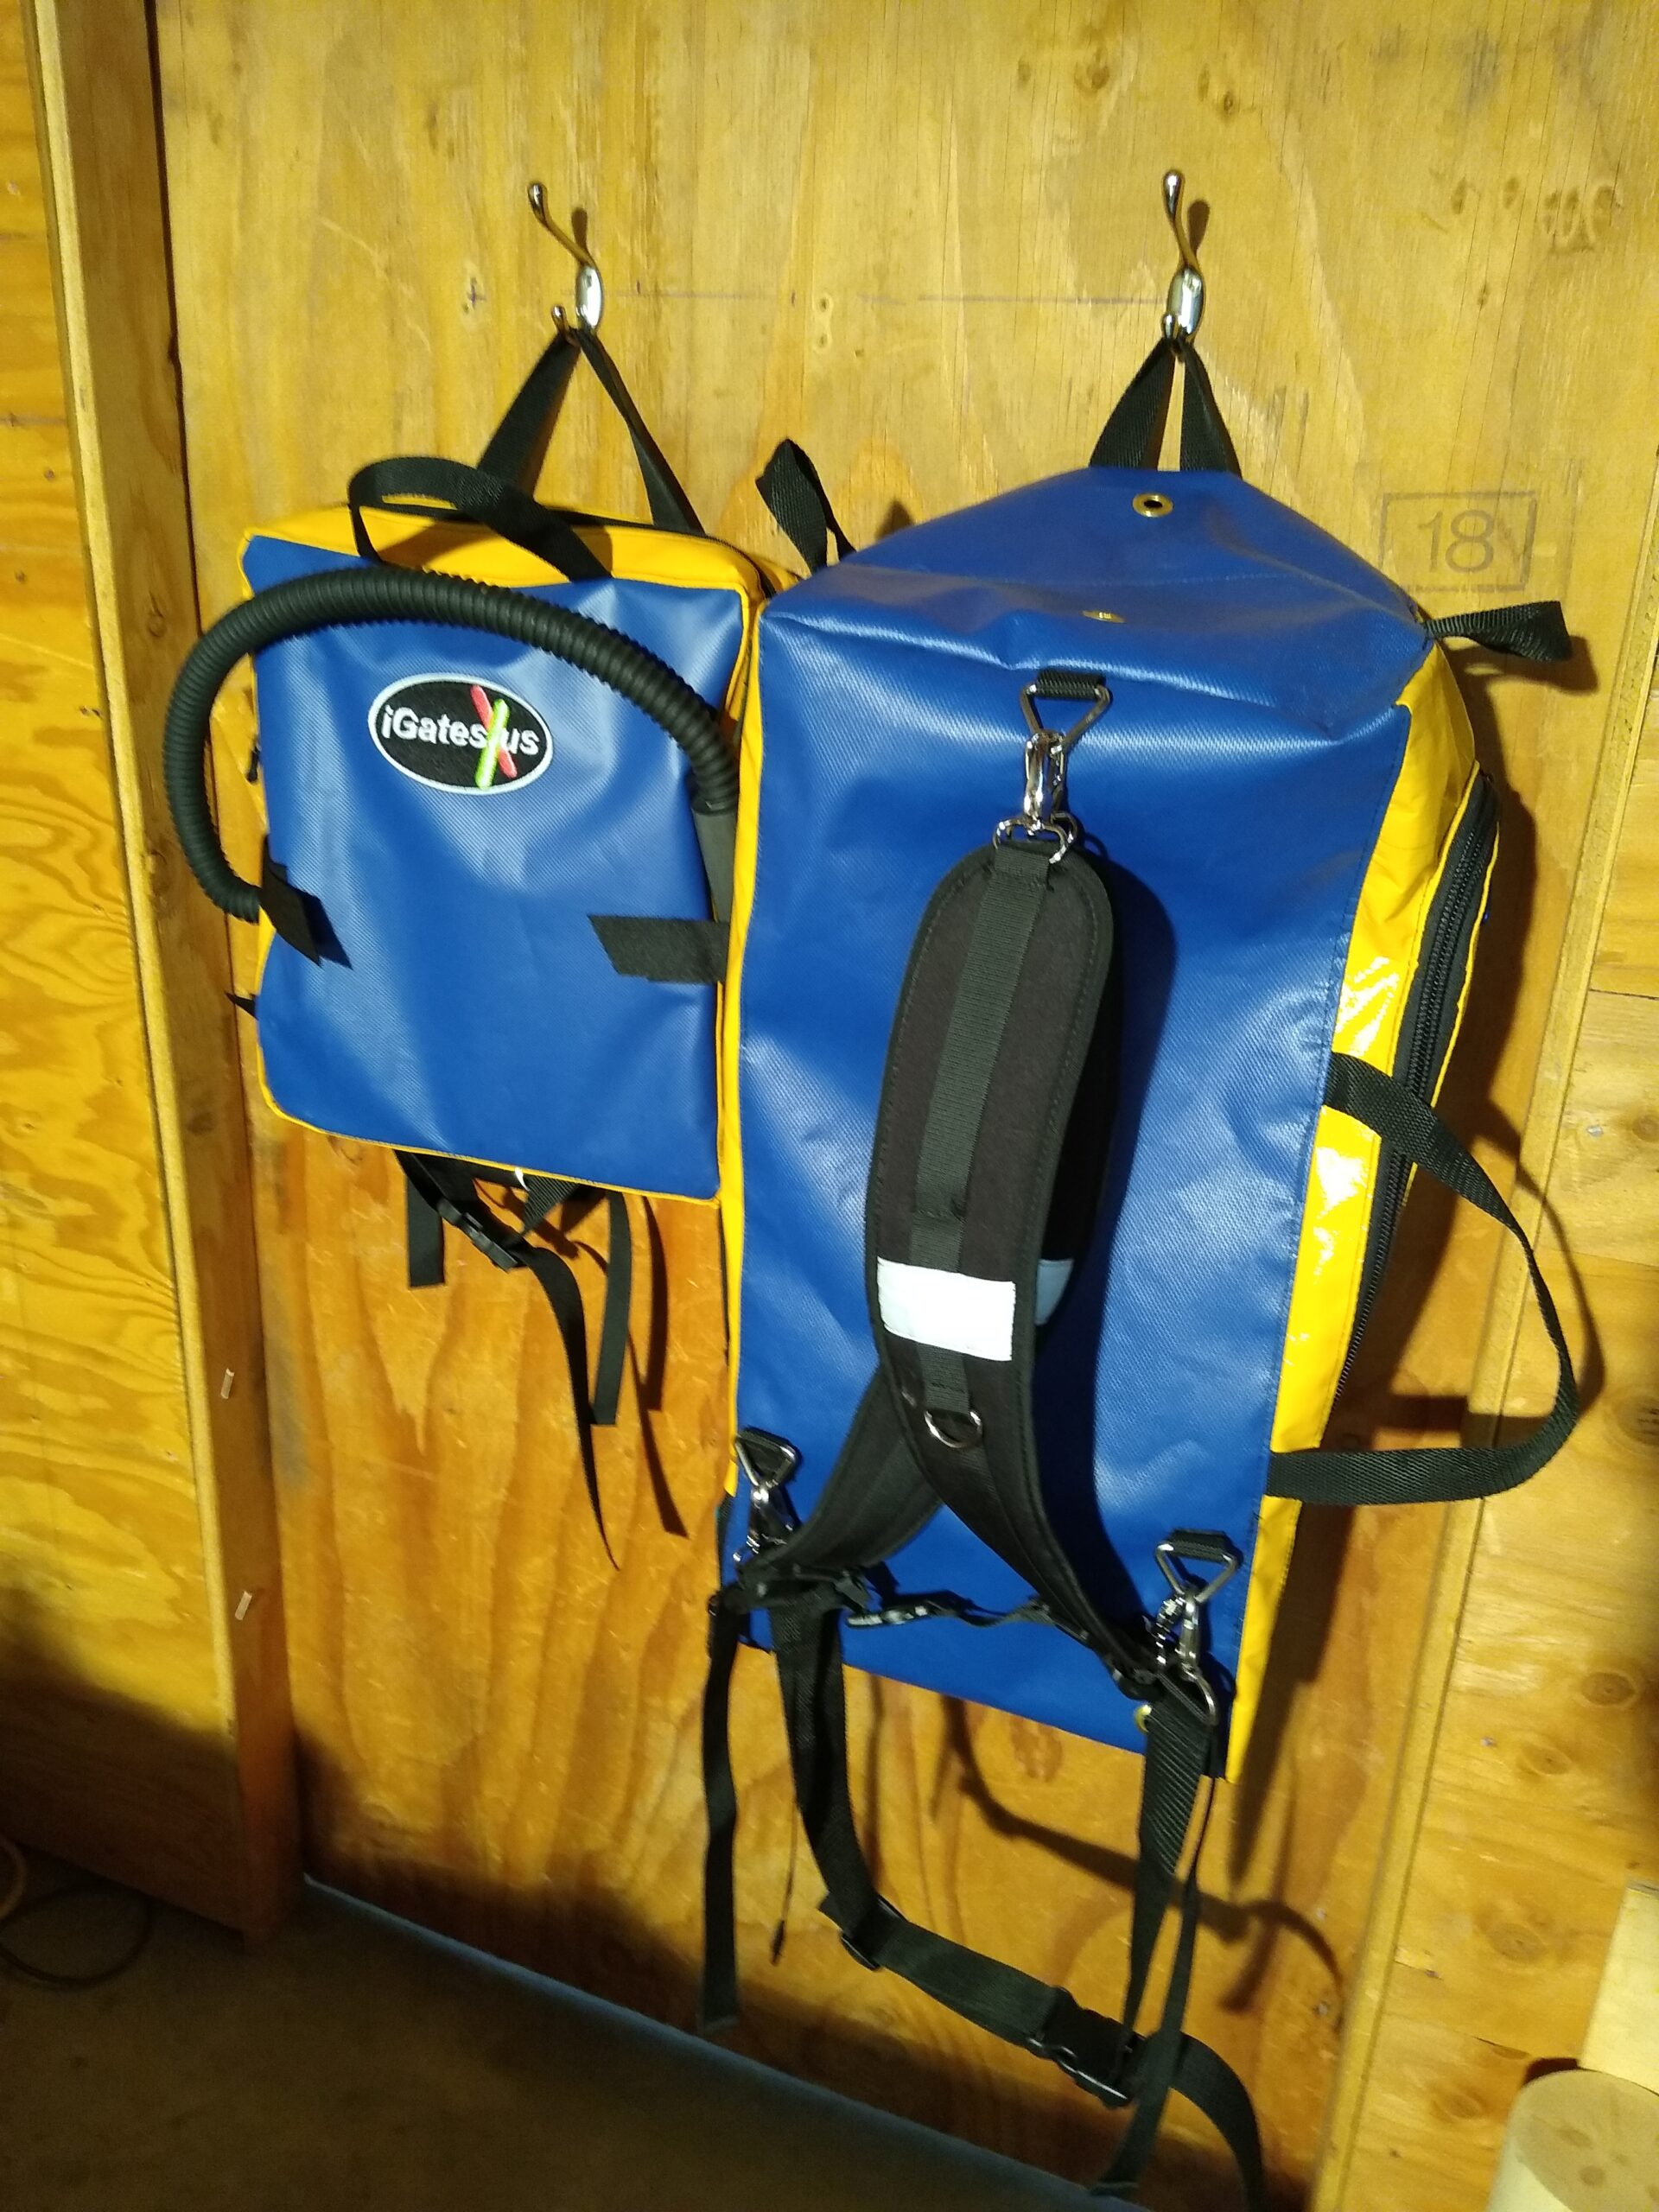
The inflation system pressure is preset and will shut off automatically once it reaches the correct inflation pressure  inside the gate. Push the ON button once, starts inflation sequence.

Keep compressor always inside the backpack. Fill hose exits at hip height to the right or left as needed. Turn OFF power switch on the compressor case after daily use, to save battery power.

Battery for Compressor not included.

igates comp 2020 proto

Training Without Fear NexGates™ are here

Deflate

The correct way to pull tab on TOP valve is stiff arm first. Now, tilt iGates® away from your head to avoid the short burst of air released.  Re close tab after fold-up.

iGates
iGates

 Removal

Firmly grasp the Edge Protection Sleeve and pull/tug the uninflated  iGates® from the snow.

From the bottom, the valves facing up, fold gate immediately and place  into  the iGates® custom dispensing & storage pack we designed. PEZ.

The pack holds 20+ iGates® and can be handled well on the hill & in the shop.

Dried iGates® only for long-term storage please.

Points to Remember

  • Please use Airkipp®iGates® as they are intended, for optimum performance and safety.
  • We encourage the use of helmet, goggles and face guard for your safety.
  • The intent of the Airkipp®iGates® system is NOT to mimic the old hard-ware.
  • Cross Blocking good bye!

No Angst©

Five Basic Rules: iGates®friendly

  • 1 Decal and valves face downhill.
  • 2 Set iGates® to correct depth.
  • 3 Fill to correct pressure-auto off.
  • 4 After removal from the snow, immediately fold iGates® up (5X see fold line on gate) and place in a bag.
  • 5 Dried iGates® for storage!